
For a first build, use King of Nothing's straightforward troops: place a Soldier or Paladin as the main frontline, support it with Farm and Blacksmith when drawn, and keep a Scout Tower or Archer available for damage behind it. Upgrade that core before filling every open tile. Borrow a useful card from another king when it fixes a specific weakness.
This is a learning build for version 0.9.8, not a guaranteed high difficulty clear. Exact draws vary. If your opening supplies a different useful troop, establish a working army first and move toward the supported core when rewards allow. Start a new run after updating to apply the current patch data.
Give each early card a clear job
Your initial board needs a frontline and a way to defeat enemies. Soldier is a balanced melee option. Paladin emphasizes defense. Archer supplies ranged attacks, while Scout Tower gives another direct damage route. Farm and Blacksmith improve neighboring plots, but they are support rather than replacements for an army.
| Card | Job in this beginner build | Placement decision |
|---|---|---|
| Soldier | Main melee troop when available early | Put it where planned support can reach it |
| Paladin | Defensive frontline alternative | Concentrate troop and damage support on this plot |
| Farm | Increase neighboring troop numbers | Check which adjacent troop will receive its growth |
| Blacksmith | Improve adjacent attack power | Connect it to the attacker that needs more damage |
| Archer | Ranged damage behind a screen | Protect it rather than treating it as a durable tank |
| Scout Tower | Additional direct damage | Keep enemies occupied long enough for it to attack |
| Steel Coat | Protection against incoming damage | Use it on a troop that matters to your battle plan |
| Wildcard | Flexible plot improvement | Apply it where another level fixes a real weakness |
The build becomes easier to understand if you can name the purpose of every occupied tile. If a new card does not help your frontline, damage source, or growth plan, you do not need to reserve a permanent plot for it immediately.
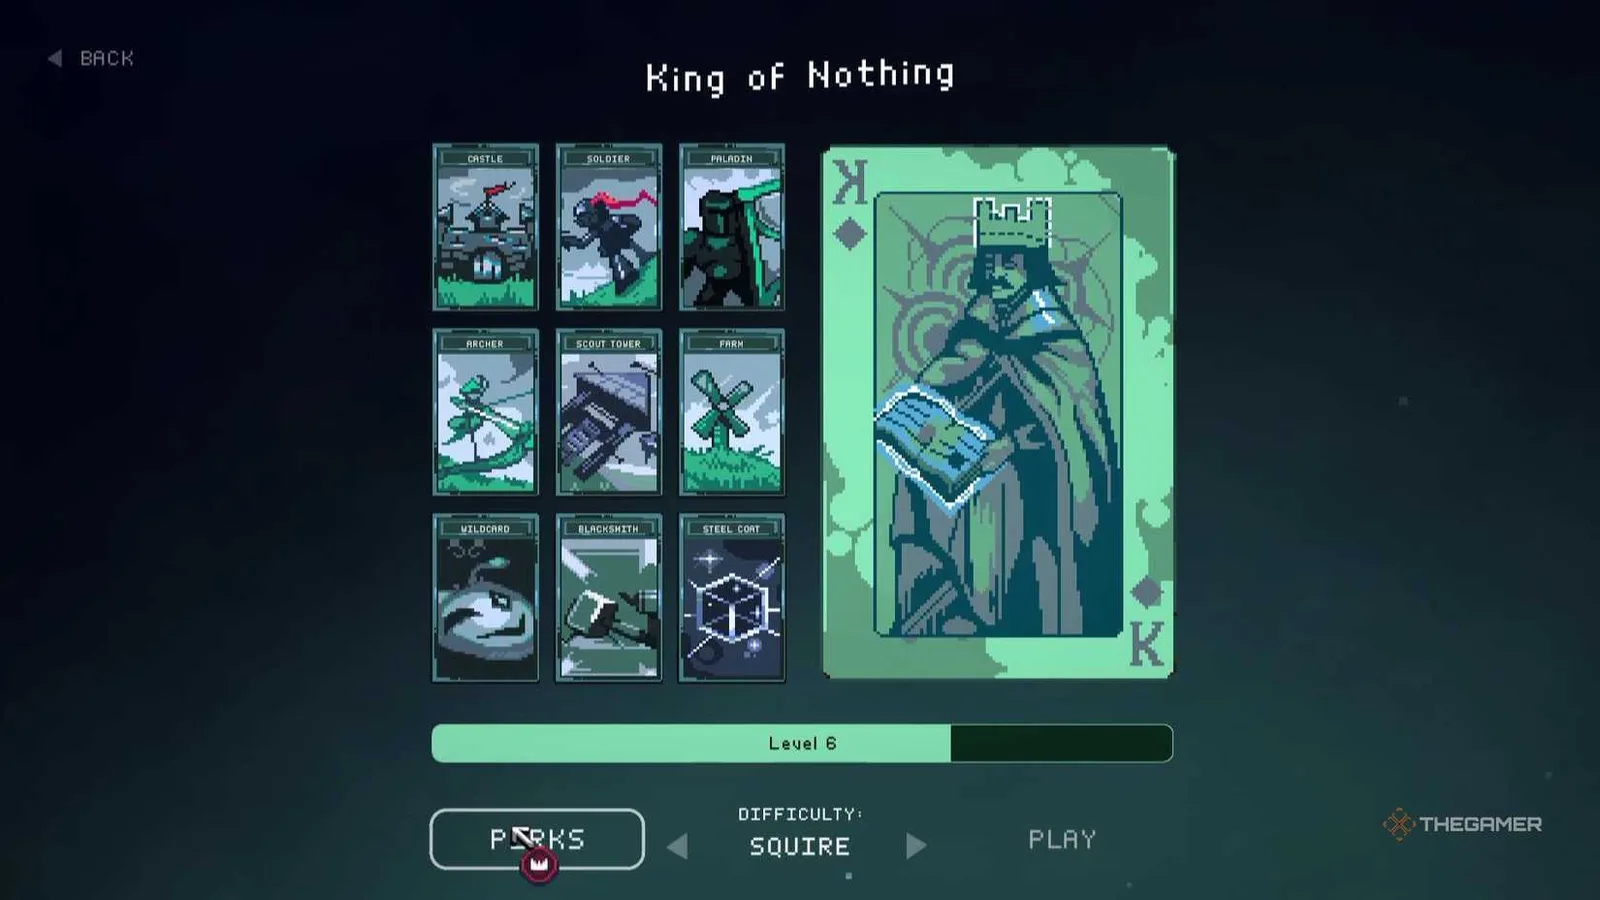
Identify the card names and artwork here; use their current previews for effects.
Place the base without blocking your support
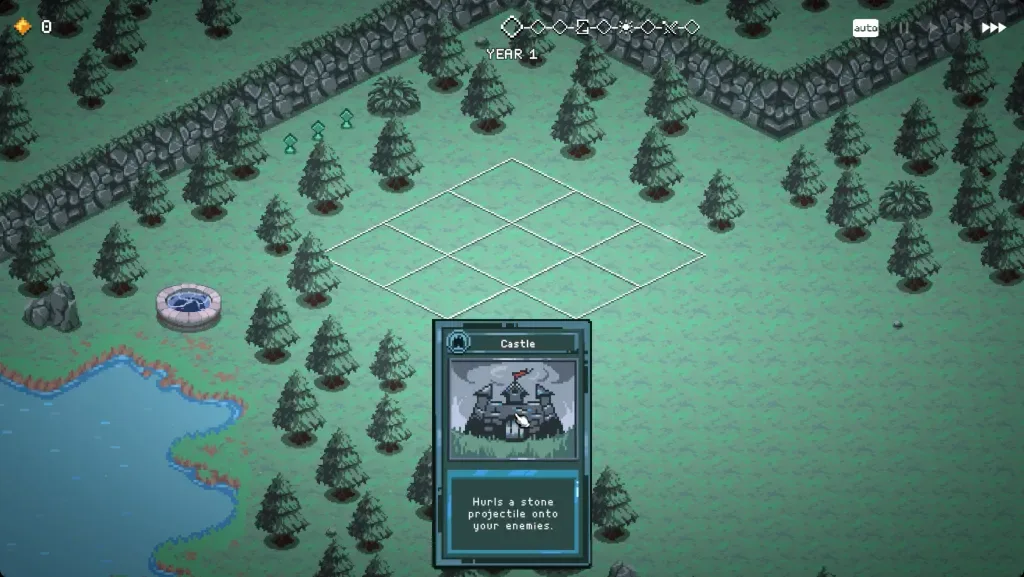
Leave useful connections for the support and troops you plan to place.
The first placement affects your remaining options. A corner or edge can leave the center available for a support building. That is a useful beginner starting point because a central support can reach the plots above, below, left, and right of it.
Do not interpret this as a rule that the base must always be in one exact corner. Your opening tiles and chosen core may make another location more practical. The important decision is to preserve a route between the support you expect and the troop you intend to improve.
Before placing the frontline, imagine where a Farm and Blacksmith could connect to it. Avoid a diagonal-only relationship. Two plots that touch only at a corner are not the cardinal adjacency used by these support effects.
An empty center is useful only if your army can survive while you wait. Put a working troop on the board rather than losing the opening because you refused to occupy any planned location. Planning should create options, not prevent you from using the cards that are actually in hand.
Follow a compact opening sequence
Use this sequence as a decision order, rather than as a guaranteed draw order:
- Place your base where it leaves useful support connections.
- Establish a melee troop that can occupy enemy attention.
- Add a damage source if the frontline is surviving but failing to defeat enemies.
- Take useful duplicates to improve the troop or tower already contributing.
- Place Farm or Blacksmith where it reaches your selected core.
- Add Steel Coat or another appropriate defensive tool if the main troop dies too quickly.
Your actual hand may not offer those cards in that order. If it gives you an Archer but no Paladin, use the Archer with the best available screen. If it gives you a strong frontline but no tower, improve that frontline rather than rerolling endlessly for a perfect illustration of the build.
The opening is successful when it buys access to more decisions. You do not need to prove that the final army is complete in the first few years. You need enough useful units and damage to make the next reward productive.
Upgrade the plot that already works
Playing a matching card on an existing plot improves that plot. This often gives more value than opening a second weak copy elsewhere, especially when your first plot already receives support. A second Soldier without Farm or Blacksmith connections may contribute less than improving the supported Soldier.
Hover the upgrade before committing. The preview shows which stats or effects will change. That is a better guide than assuming every card gains the same benefit from a level. Scout Tower, for example, gains additional projectiles with levels under the current rules.
Concentrating upgrades does not mean you should never use another troop plot. Add a second screen if your first disappears too quickly or if enemies reach an exposed attacker. Add complementary damage if your current attack pattern cannot handle the opposing army.
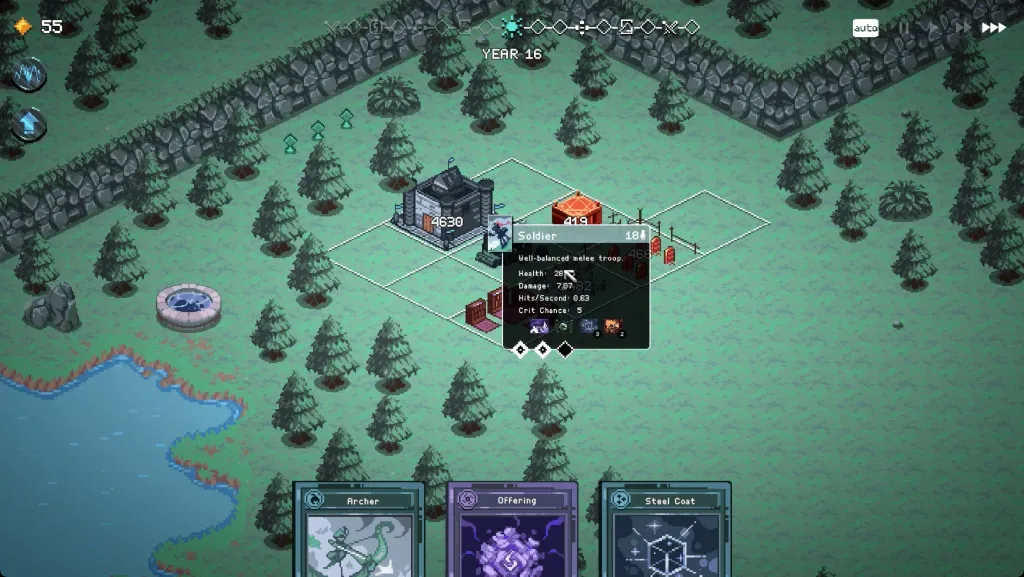
Layout reference only; use current card previews for stats and effects.
Decide whether the new plot improves a job that is currently missing. If your existing carry already survives, another defensive plot may be unnecessary. If it dies before attacking, a damage upgrade on a distant tower might leave the actual failure unchanged.
Use Farm and Blacksmith deliberately
Farm increases the troop population of neighboring recipients. That makes it attractive beside your principal melee plot, because more troops can preserve a frontline and make your other investments matter for longer. Place it early enough to receive repeated yearly value when the army can afford that investment.
Blacksmith improves attack for neighboring troops and constructions. Connect it to a recipient that needs damage, rather than placing it in the center simply because the center reaches the most tiles. A high number of connections is useful only when the connected plots benefit.
The most manageable beginner version uses a small core. This allows you to see whether one support card changes the performance of one troop. Spreading support across several unrelated plots makes it harder to understand which improvement actually helped.
There is also a timing cost. A support building may grow a future army while a duplicate makes the present army stronger immediately. If the next battle looks unsafe, choose stabilization first. Once you can comfortably survive, yearly support becomes more attractive.
Borrow cards to solve a visible weakness
Your rewards are not limited to your own king's cards. Enemy decks introduce opportunities to borrow tools. Use them as answers to a problem you can describe, rather than as a reason to start a completely separate build whenever something unusual appears.
Forest from Nature can improve neighboring troop health. Beacon from Greed improves attack and movement speed. Library from Spells can develop enchantments on adjacent troops. Cauldron from Stone can provide poison to relevant neighboring attackers. Each requires appropriate placement and an army that can use the effect.
For example, a Paladin that survives for a long time but cannot finish enemies might benefit from offensive support. A ranged unit that dies in the opening needs protection more urgently than another future multiplier. A poison plan needs attacks or other supported application to reach targets; poison on an irrelevant recipient does not solve your battle.
Avoid recommendations based on removed cards. Vampirism no longer belongs to the current Blood deck because Oblation replaced it. Reinforce no longer grants damage from leveling plots: it now grows health during battle and heals beyond maximum health. Those differences matter when deciding what an off-faction reward will actually do.
Protect the attacker you invest in
A frontline is useful when it gives your damage source opportunities to attack. Observe what happens when battle begins. Does your troop hold enemy attention, or does an opposing ranged unit attack your valuable backline immediately? Does the army remain spread out, or does it enter an area damage attack together?
Steel Coat can cancel an incoming damage instance on its recipient. This is useful protection, but it does not justify placing a fragile troop where every enemy can reach it. Treat defensive enchantments as support for a placement plan, rather than as a replacement for one.
Do not assume every enemy attacks the nearest melee troop. Elves target distant units, and Thieves can reach the backline. If your investment is disappearing early, identify the enemy responsible and consider a tougher recipient, another screen, or a different damage source.
You do not need to learn every counter at once. Start with the difference between an army that cannot survive contact and an army that survives but cannot deal enough damage. That distinction makes your next card choice much more precise.
Spend rerolls on acceptable improvements
Before rerolling, name what would make the next battle easier. It might be a duplicate for your primary troop, a direct damage option, or a support card that has a ready recipient. Keep several acceptable outcomes, because one specific card may not appear.
Stop when you find a useful answer. Replacing an adequate reward in search of a perfect one can spend the gold you needed for a later shop or another emergency. The goal is a stable board, not a hand that matches a fixed diagram.
Saving every coin can also be a mistake. If a purchase keeps your frontline alive or adds missing damage, its immediate value may outweigh a larger wallet later. Conversely, repeated rerolls without a clear goal can leave you with neither money nor an improvement.
The beginner build should remain economical in board space as well. A new support system that requires several extra cards is harder to complete than a single useful upgrade on a plot already doing its job. Buy and draw toward the smallest repair that solves the current problem.
Choose between the troop and tower branches
Keep the melee branch when your main Soldier or Paladin remains useful and its supports have good connections. Your next improvements can concentrate on troop numbers, survivability, and enough damage to finish the targets it holds.
Move more resources toward Scout Tower or another ranged attacker when the frontline mainly buys time and needs help killing enemies. Upgrade the damage source and retain enough screening for it to fire. Do not demolish a functional frontline merely because a tower has a larger displayed attack value.
If neither branch develops, use a workable off-faction card while preserving the useful part of your existing board. A beginner run does not fail because it stopped looking like a pure Nothing deck. It fails when the actual army cannot handle its next fights.
Review the run through concrete decisions
After a loss, identify a decision you can change: a carry placed out of support range, a purchase made after the frontline already became unsafe, or a support building added before a suitable recipient. Those are useful lessons for the next attempt.
Keep successful habits specific as well. Remember which plot received the important upgrades and why it survived. Remember whether a ranged attacker needed screening, whether Farm reached the intended troop, and whether Blacksmith supplied damage to the units that actually fought.
This gives you a repeatable way to improve without demanding the same opening hand. Establish a working core, improve what contributes, and add new systems only when your present army has enough strength and space to use them.